
Don’t Just Shop — Plan
Choosing the right jewelry safe starts with more than specs or styles. It begins with fit.
Whether you’re working with a walk-in closet, custom cabinetry, or a condo layout with limited space, measuring properly is what ensures your safe fits seamlessly into your life—functionally and aesthetically.
This guide breaks down exactly how to measure for a jewelry safe, including:
- Where to install
- How to take proper dimensions
- What clearances matter
- Common install scenarios and how to prep for them
No guesswork. No misfits. Just a clear plan that makes your safe feel built-in from the start.


Step 1: Identify Your Ideal Install Location
Before grabbing a tape measure, decide where your safe will live. This dictates how you’ll measure and which constraints you’ll need to work around.
Common Install Locations:
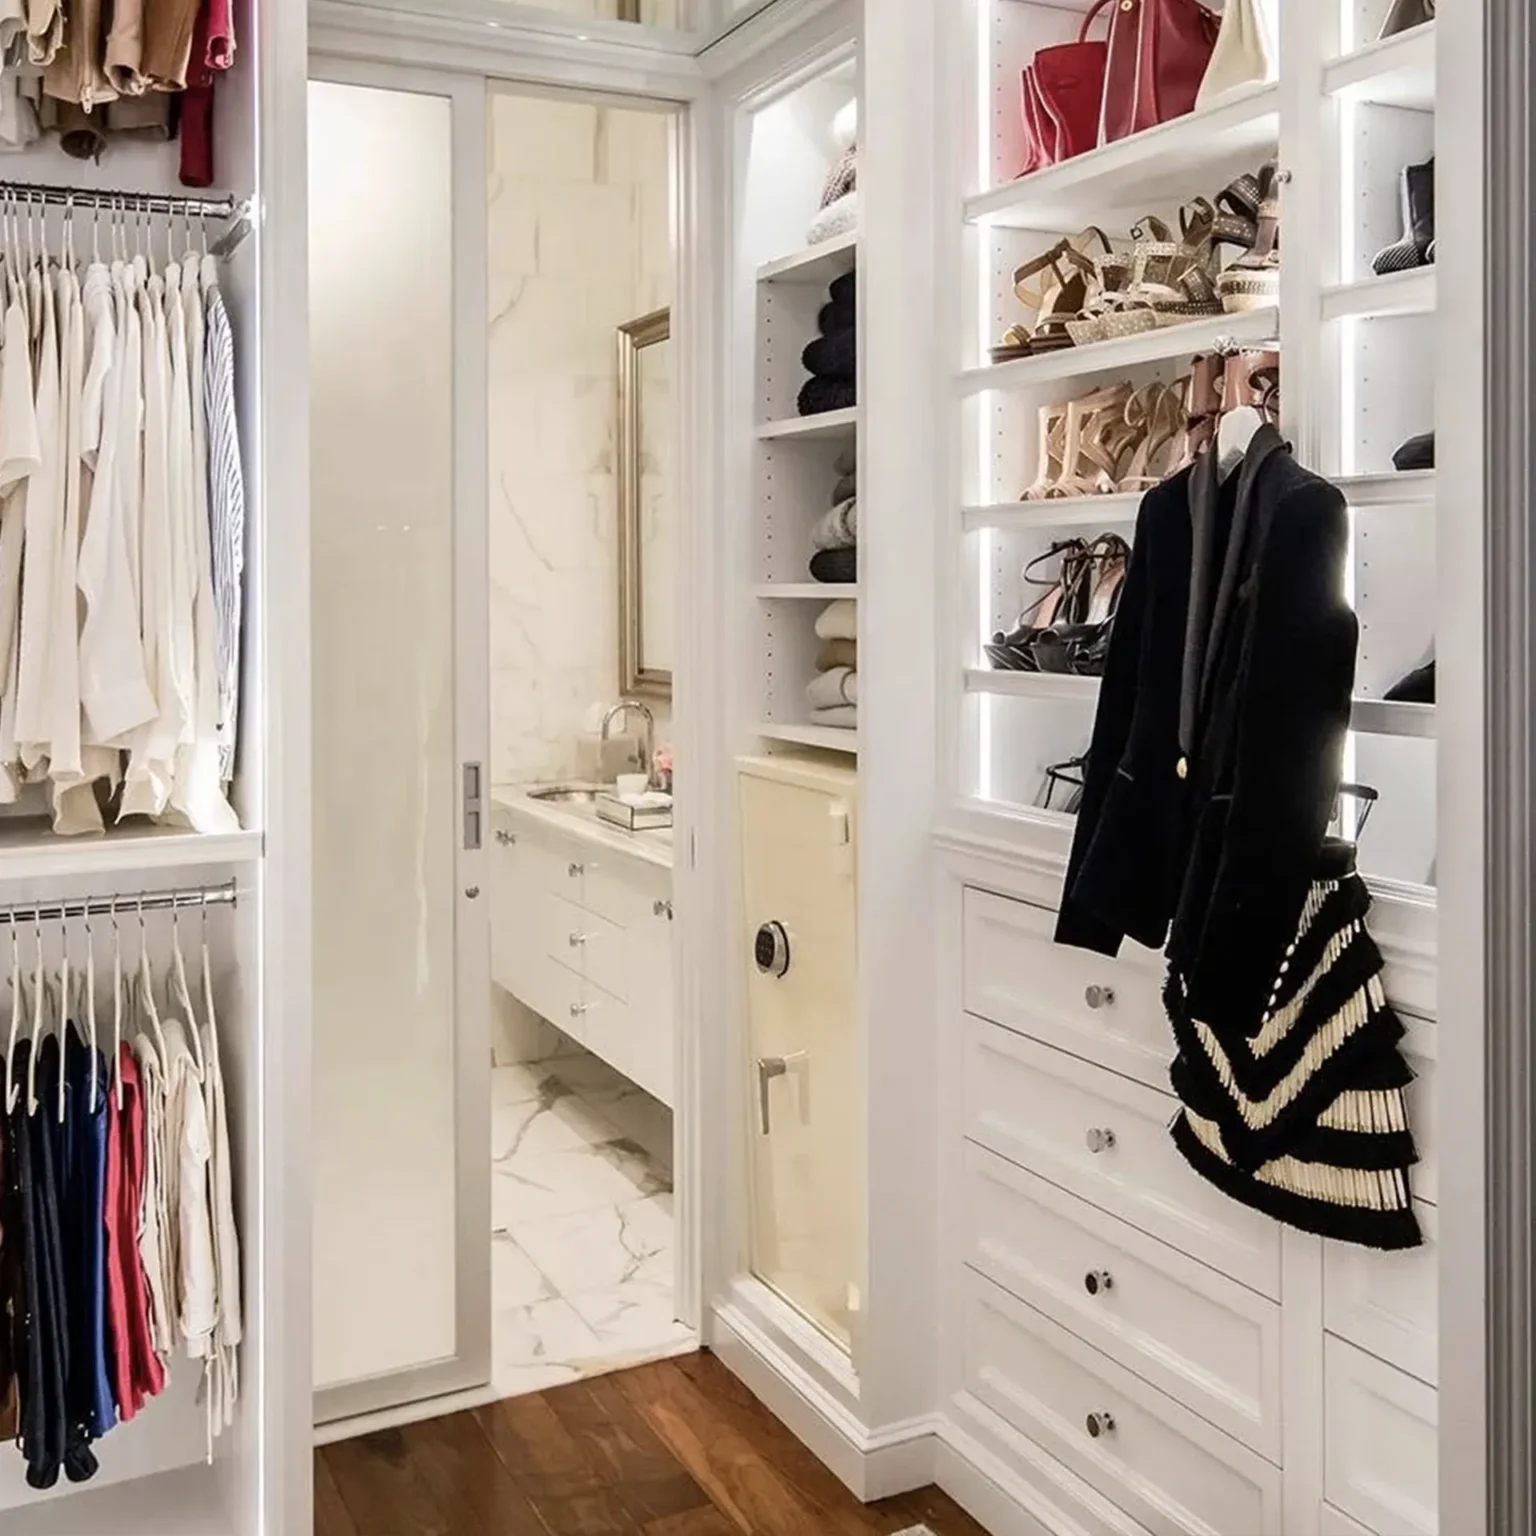
- Walk-in closet: inside a cabinet or under hanging space
- Closet island: hidden in drawer base or integrated vertically
- Dressing room: paired with vanities or wardrobes
- Built-in cabinetry: custom millwork or recessed panels
- Utility/laundry room: concealed but accessible
- Bedroom corner: behind a decorative panel or dresser
Think about:
- Visibility: Should it be hidden or in plain sight?
- Access: Will you use it daily, or just occasionally?
- Privacy: Will housekeepers, contractors, or guests pass near it?
Step 2: Take the Right Measurements
To ensure a safe fits properly (and allows for comfortable daily use), measure the following:
| Measurement | What to Do |
|---|---|
| Height (H) | Measure from floor to top clearance inside your install area |
| Width (W) | Measure side-to-side between walls, cabinetry, or framing |
| Depth (D) | Measure front-to-back, including any trim or baseboards |
| Door Clearance | Account for door swing (usually 90–110° from hinge side) |
| User Access Space | Add 12–18″ in front so drawers can open fully |
Tip: Always measure in inches, and round down slightly to allow for ventilation and installation tolerances.
Tailor Designed to Match Your Requirements
Fully Custom Jewelry Safes: Any size. Any color. Any interior. Configure drawers for rings, watches, necklaces, and more. Designed to seamlessly fit your home’s style and space. From bold, high-gloss finishes to hidden-in-plain-sight installations, your jewelry safe will be one of a kind—crafted by our expert team to reflect your taste and meet your specific security goals.
get a quoteStep 3: Consider Safe Dimensions vs. Interior Capacity
Safes have two sizes:
- Exterior Dimensions: total footprint
- Interior Dimensions: usable storage space inside
Interior space is always smaller due to:
- Wall thickness (fire/burglary-rated safes)
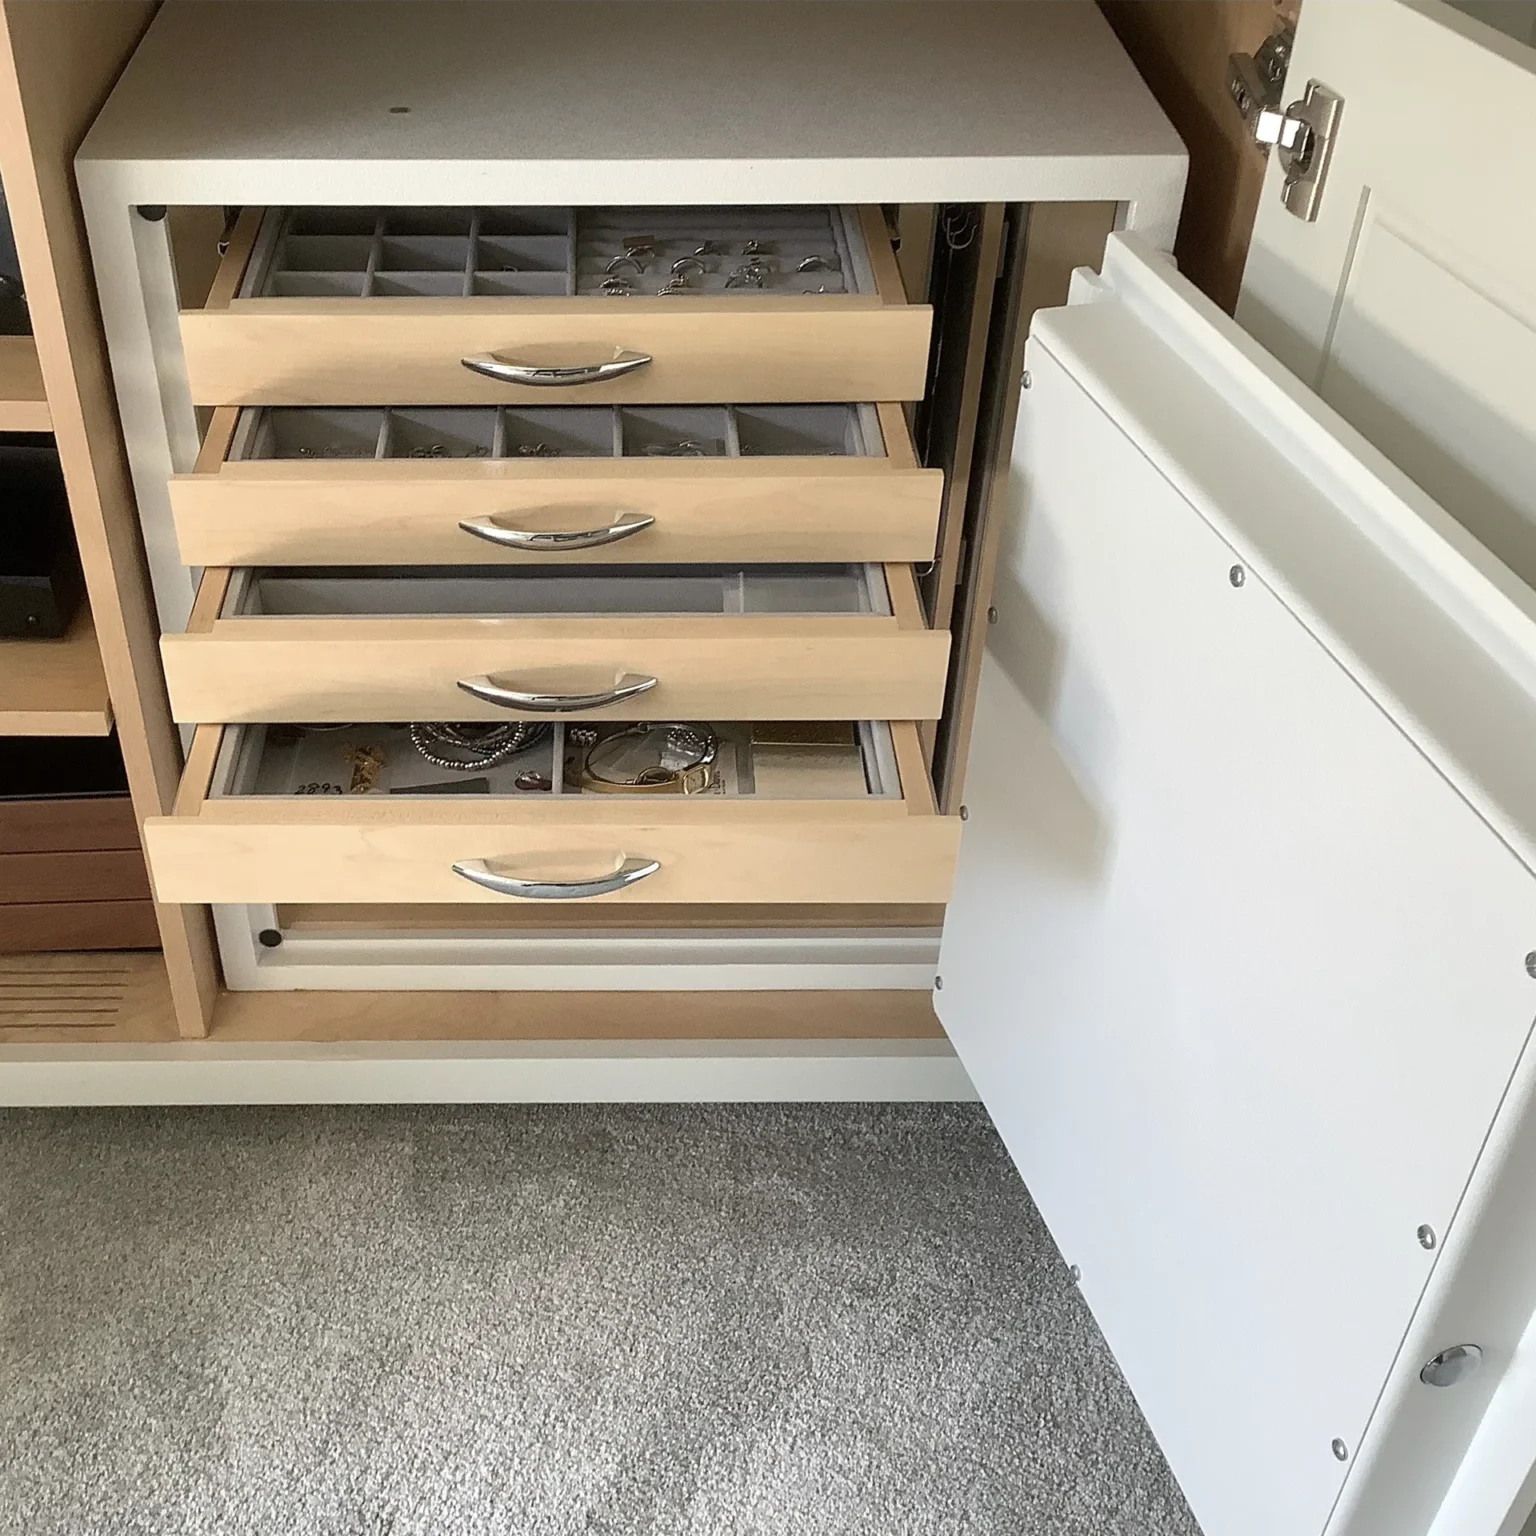
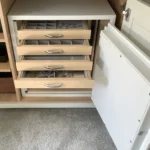
- Drawer systems
- Locking mechanisms
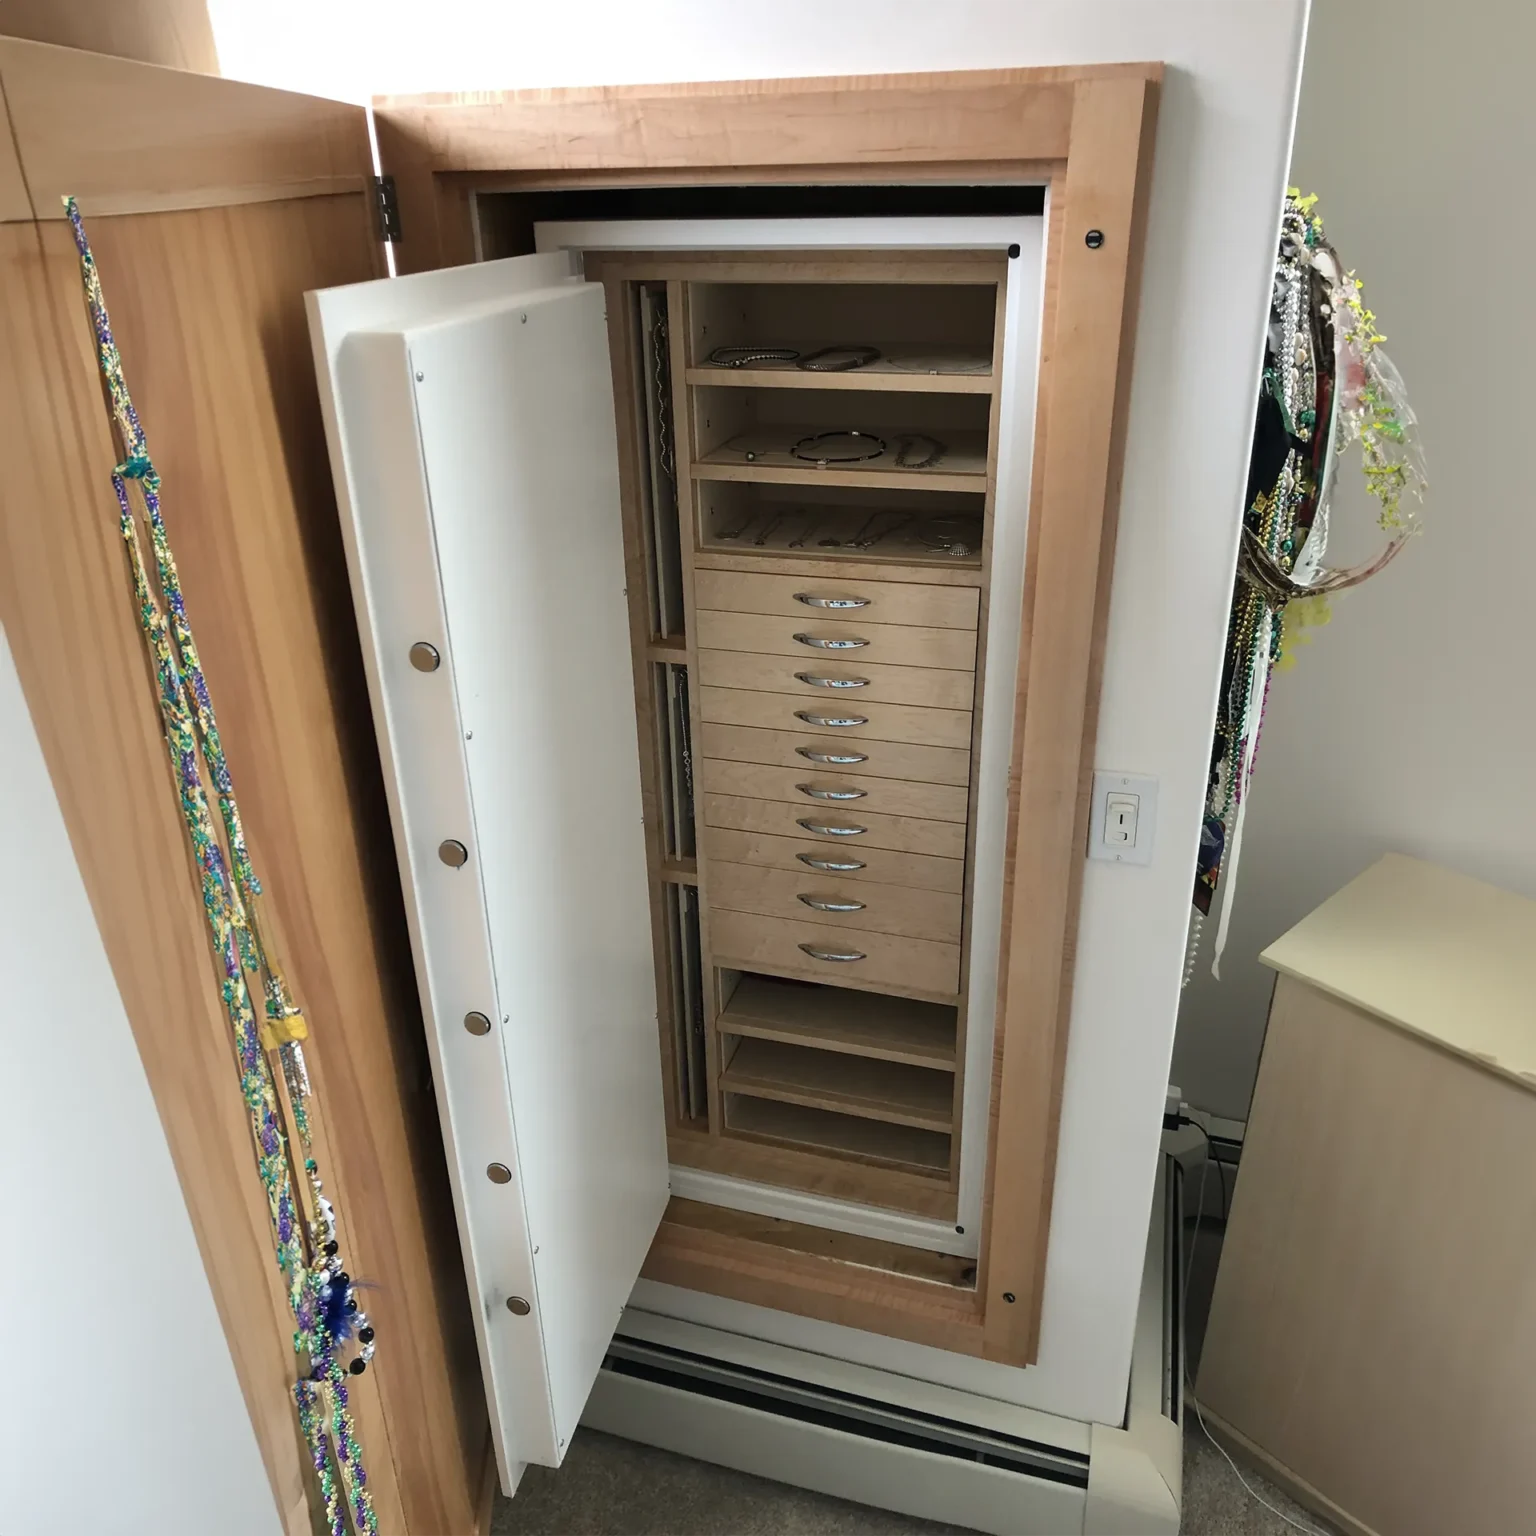
Example: A 24″H x 18″W x 18″D safe may only offer 18″H x 14″W x 14″D of internal space—so plan if you need 6+ drawers, winders, or documents.
Step 4: Watch for Obstructions
Many installations are derailed by small, avoidable oversights:
- Baseboards or molding that reduce depth
- Closet rods or shelving that block door swing
- Drawer handles on adjacent cabinetry
- Electrical outlets or HVAC vents behind the install spot
- Elevated closet floors that alter height
Always factor in true clearance, not just visual space.
Step 5: Evaluate the Weight Load
Safes range from 100 to 1,000+ lbs depending on rating and construction.
- Ensure floors can support the weight
- Reinforce cabinetry for in-cabinet installs
- Check condo/high-rise load limits
LuxeSafes can provide reinforced base platforms or contractor guidance for heavy installs.
Step 6: Plan for Anchoring and Power (Optional)
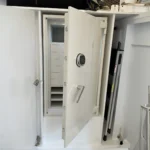
Anchoring
Most safes can (and should) be bolted down:
- Floor anchoring into concrete or wood subfloor
- Rear-wall anchoring into wall studs
Some condos restrict anchoring—heavy-base solutions are available.
Power
If using lighting or electronic locks, plan a concealed outlet nearby. LuxeSafes can coordinate with electricians for hidden wiring.
Common Measurement Scenarios
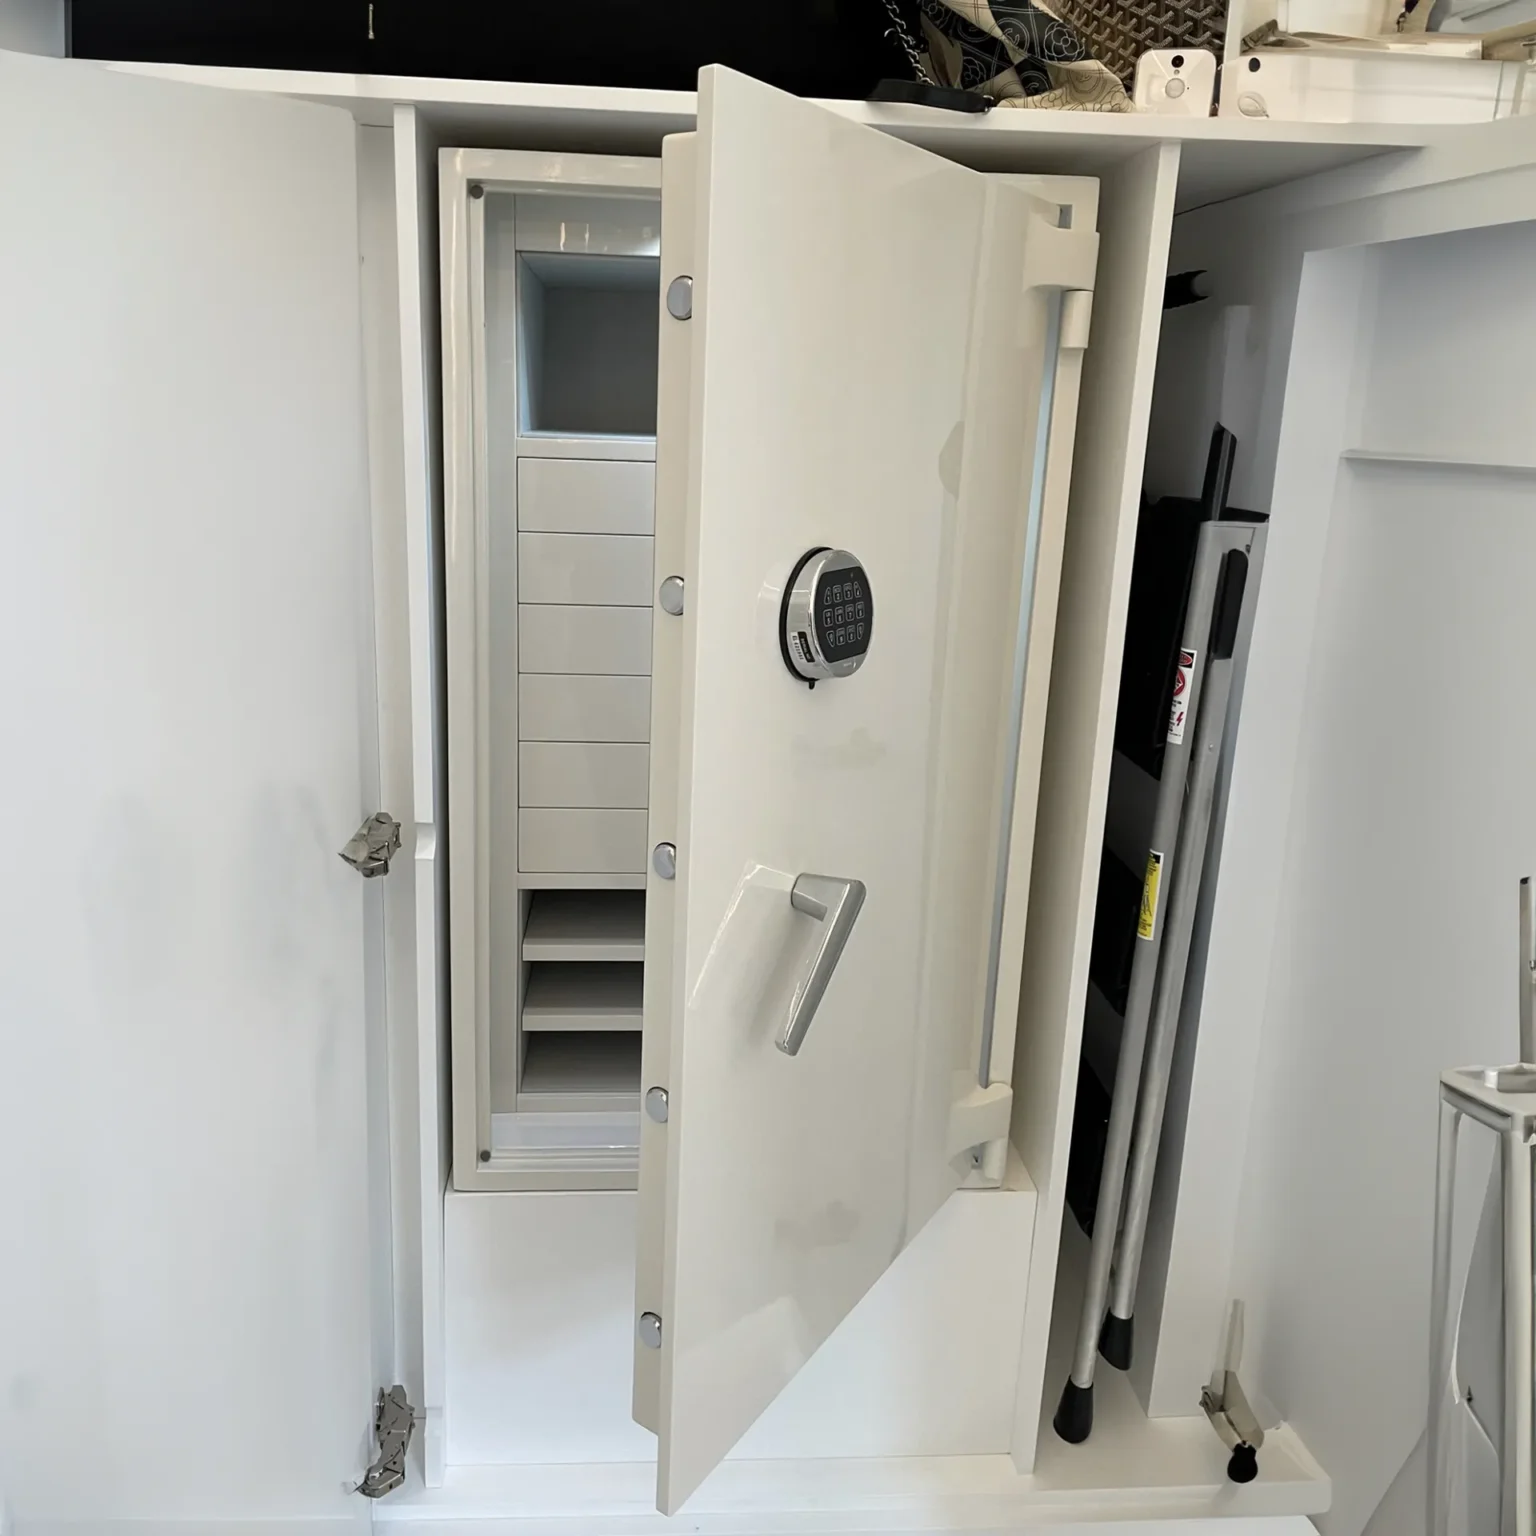
Walk-In Closet (Floor-Based Install)
- Typical Safe Size: 24–36″H x 18–24″W x 18–24″D
- Leave 2–4″ behind safe for air circulation
- Safe sits on floor or lower cabinetry
- Ideal for large collections and daily use
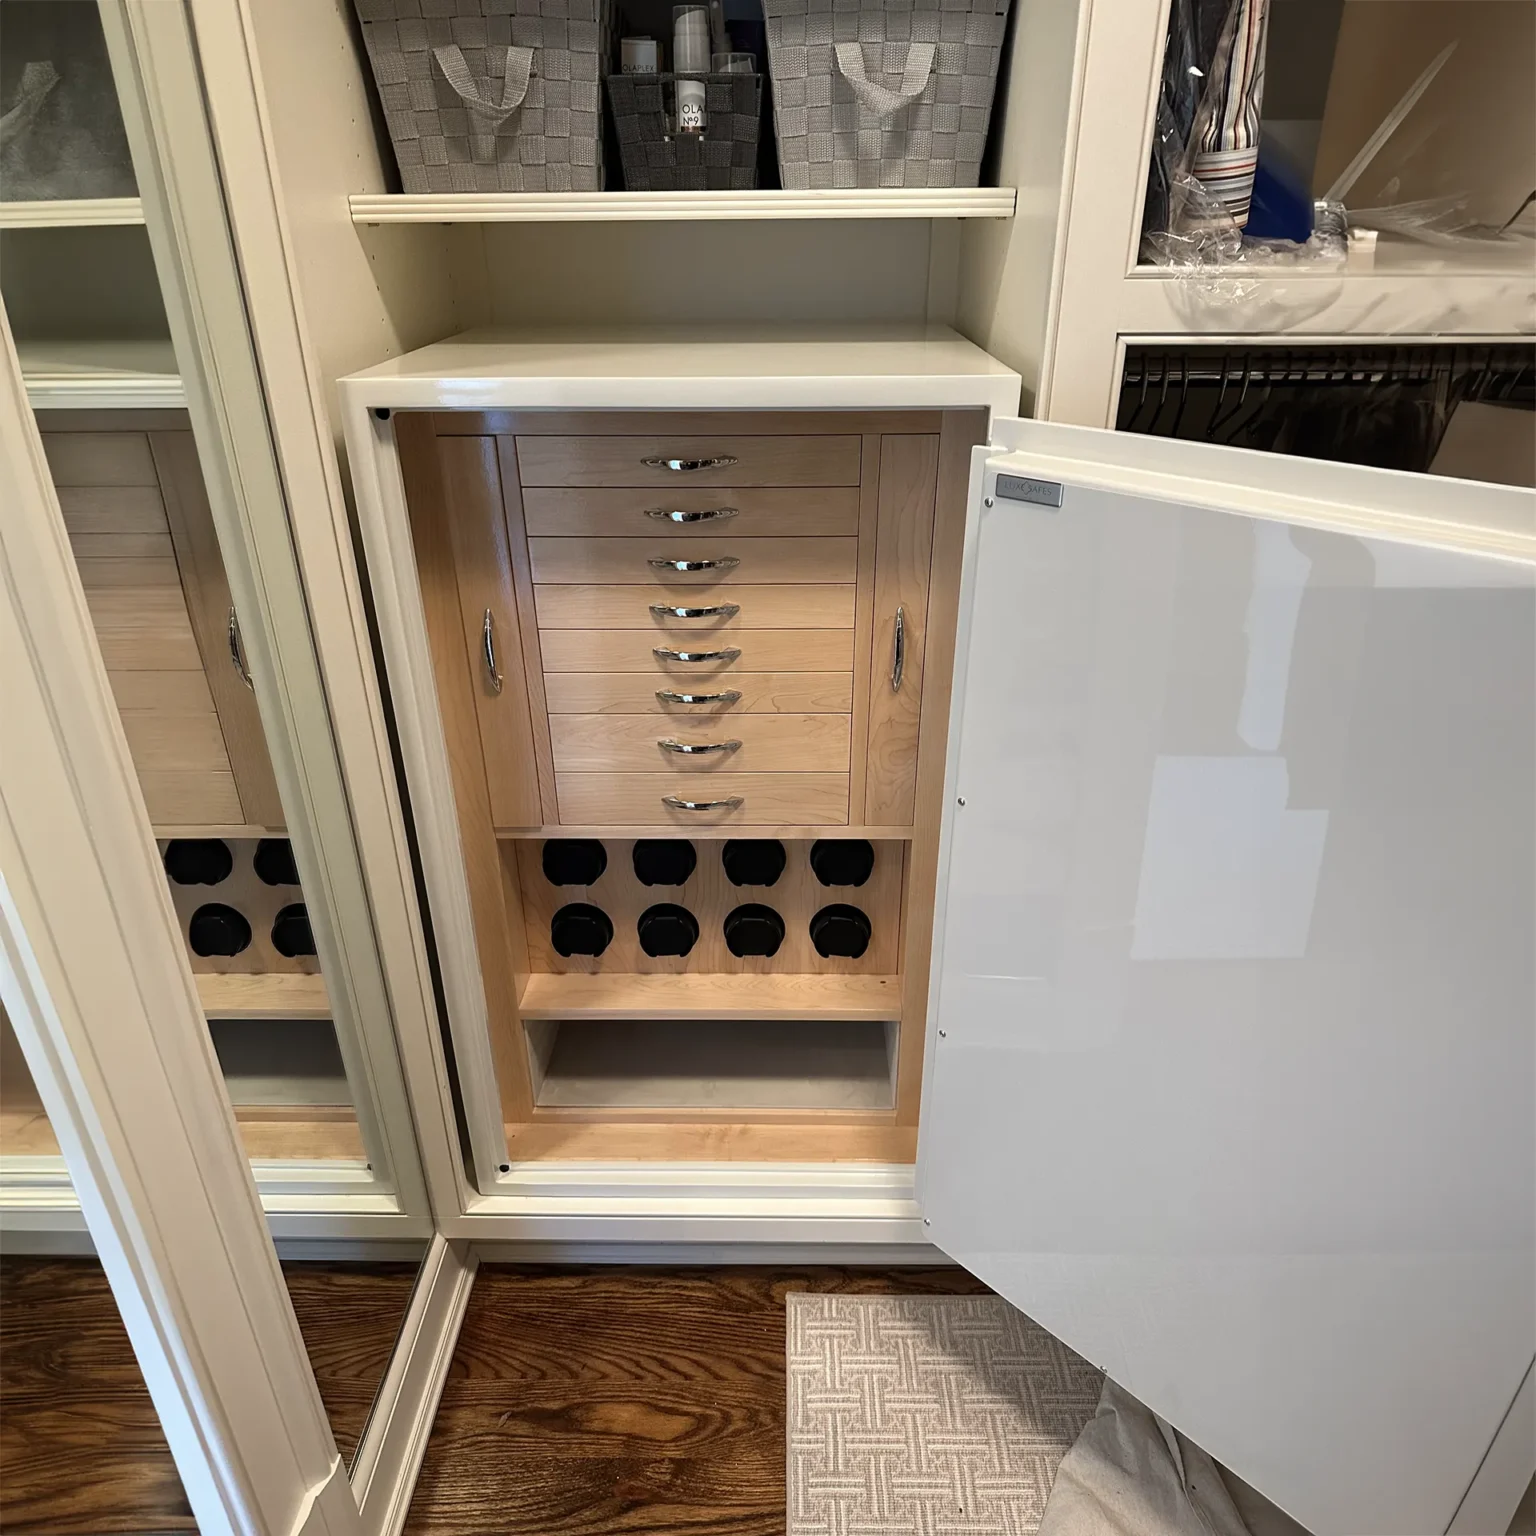
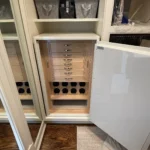
Cabinet Recessed Install
- Measure interior of cabinet box
- Ensure hardware doesn’t interfere
- Allow 1–2″ ventilation on sides/top
- Clean, seamless aesthetic
Built-In Closet Island
- Ensure base supports 250–400 lbs
- Integrate drawer fronts with safe door
- Usually smaller safes (18–24” tall)
Optional: Work with a Designer or Contractor
If you’re building or remodeling:
- Share safe specs before cabinetry is finalized
- Plan for cutouts, trim, and door swing early
- Match finishes to closet materials
LuxeSafes often collaborates with millwork shops, designers, and contractors to integrate safes beautifully.
FAQs
What’s the most common measuring mistake people make?
Not accounting for door swing and drawer access. Buyers measure the box but forget interior drawers need space to open fully.
Can a safe be placed directly on carpet or wood floors?
Yes, but anchoring into concrete or subfloor is ideal. Non-slip platforms protect floors and stabilize the safe.
What if I buy the safe first and then measure?
We recommend measuring first, but if you’ve already ordered, installers can retrofit placement.
How accurate do my measurements need to be?
Within ¼” is usually fine—round down for breathing room. LuxeSafes confirms fit before final delivery and installation.